Friday, December 14, 2012

Cleaning Up the Seams

Things have been a little slow in the boatshop these past couple weeks. After working hard to get the planking finished, I had to devote some energy to catching up in other areas of my life. Visits from out-of-town guests and Thanksgiving holiday activities filled my schedule. I also have a day job that requires me to do, you know... work.

...And... we signed on a new crew member. He made his mark on November 26, with a rating of "Ship's Baby." This has, among other things, thrown off our normal schedule of watch keeping.

I've been getting back to work in the shop, though, and cleaning up the glue seams at the plank lands. I was not diligent about taking care of this as I went along, and so now I have a job before me. I cleaned up one seam with a chisel, spreading the work over a couple nights. It went well enough, but was tiring for my fingers and wrists.

Tonight, I had the thought of using my rebate plane. I took off all the guides and cutters, so the plane blade can cut cleanly into a right angle corner. I finished a second seam without difficulty. Some areas need more attention than others, and I'm still trying to get the hang of it, but my basic approach is this: (1) clean up the bottom edge of the upper plank, which is facing up, since the boat is upside down, (2) use the edge of the plank as a guide for the plane while working away at the squeeze-out, (3) gradually change the angle of the plane until the blade is parallel with the lower plank. Moving along in this way, the job goes pretty quickly.

I'll try to get some photos after I work on this technique a bit more. I've done two of twelve seams. I should be an expert just about the time I finish.

Monday, November 26, 2012

Hanging the Sheer Strakes

With the planks glued up to full length, it is very nearly time to glue them to the boat. There are just a few things that need to be tended to first.

First, the plank lands have to be shaped. There is very little angle between the sixth strake and the sheer, so not much has to come off, but it needs to be done. I do this with my power plane; you can see the setup here. I clamp a batten to the moulds, along the sheer. A length of threaded rod is tightened in the hole for a guide rod. The end of the threaded rod has a short length of 1 1/4" dowel with a hole drilled through it's center. The hole is just the right diameter that if the plane and batten are set on a flat surface, the dowel will ride snugly on the batten. Thus, the bottom surface of the batten and the cutting surface of the power plane are in the same plane.

It works all right. The position of the rod needs to be adjusted as you go, and it takes some effort to work around the clamps, but it's not too bad. Of course, I always control the plane with two hands. This photo is staged, with one hand holding the camera, and the power plane unplugged. The biggest temptation is to try to take off too much wood too fast. Take it easy, and work carefully, especially on the shallow angle of this last strake. Do I take my own advice? No. But epoxy can hide a lot of things...

When I worked on the planking up to this point, I made every effort to keep the two sides of the boat symmetric. Nonetheless, errors crept in, and more on one side than the other.

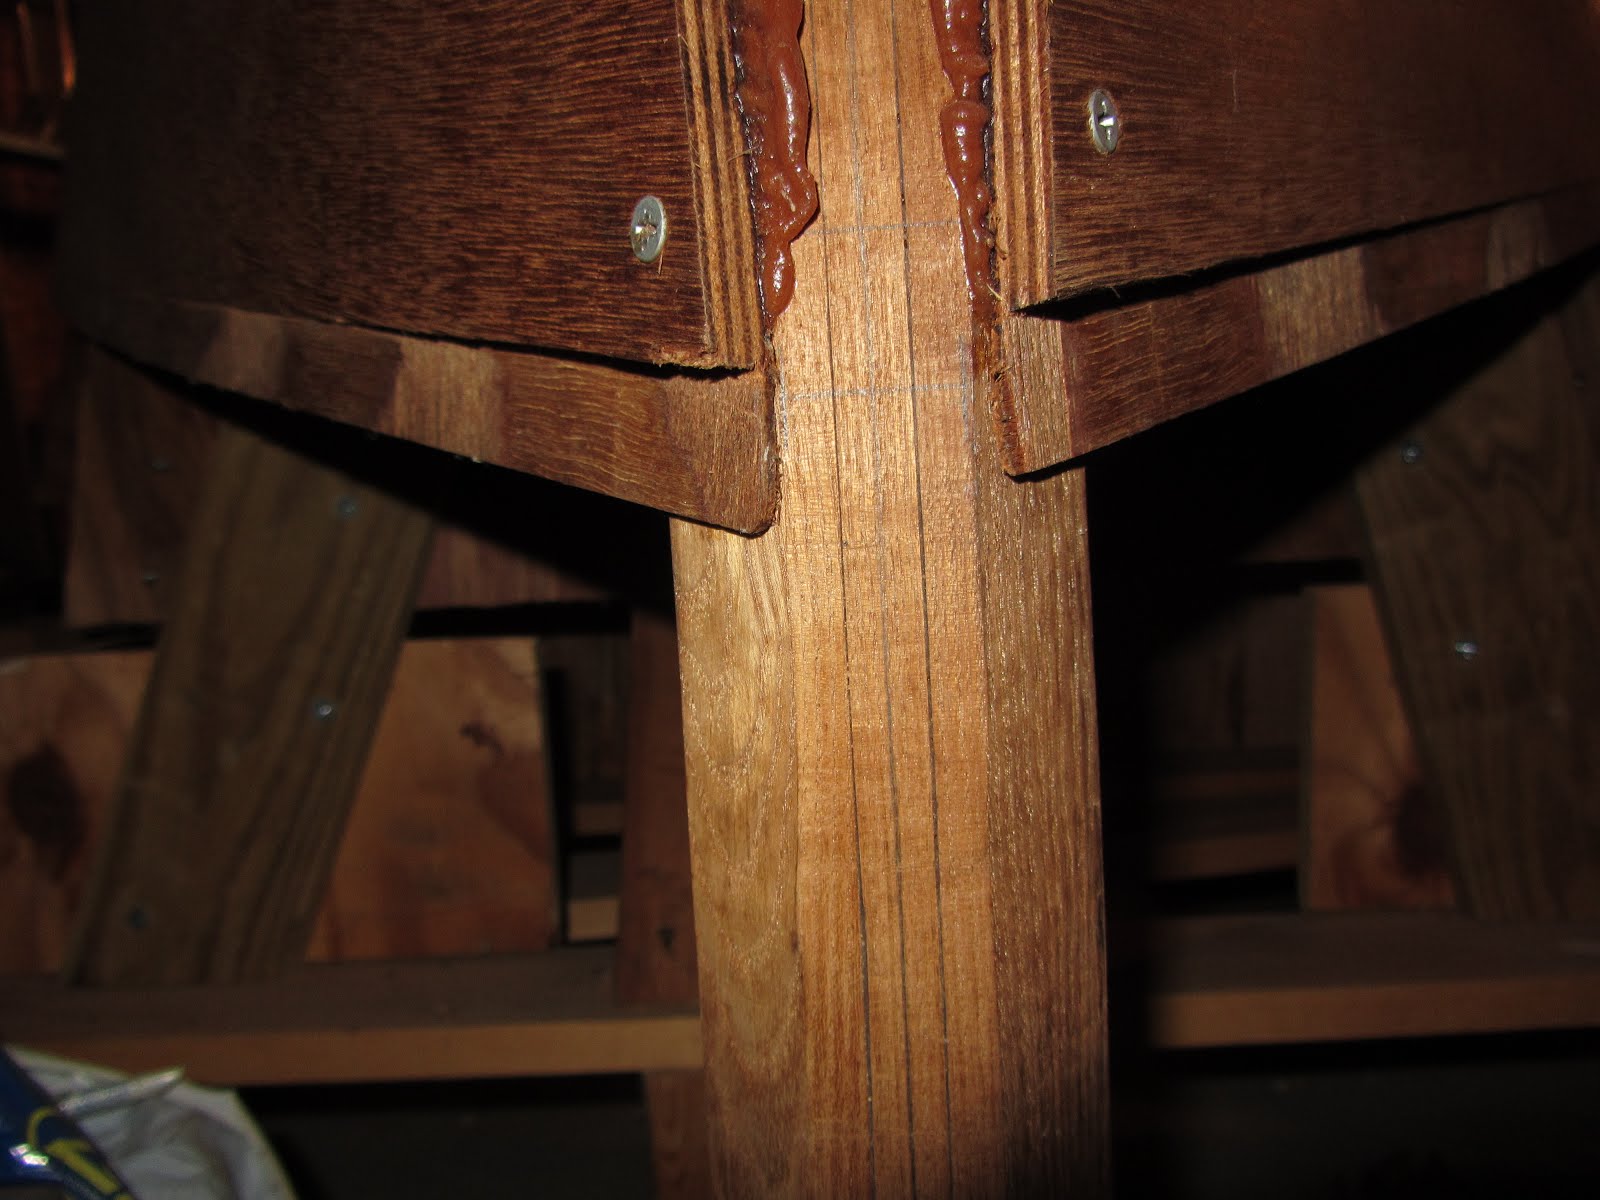
Here you can see the stem, with the planking on the port side about 3/8" lower than the starboard. I had hoped that errors on one side would be balanced out by errors on the other, but it didn't turn out that way. Since the sheer strake has to exactly match the sheer line at the stem and frames, there is no room for slop on this plank.

Here you can see a test fit of the port side plank at the stern. Like the bow, it is a little lower than the starboard side. So the port side plank needs to be reshaped a bit to fit into the gains cut into the sixth plank at the stem and stern. Of course the plank has to be reshaped quite a bit along it's length to keep a fair curve. I marked the new edge at the end of the plank, and then used a batten to make a fair curve into the edge of the plank about 5' or so in from the end. This was cut out with a saw, and then brought down to the line with a hand plane. After a few test fits, and checking the curve by eye, everything fit into place. This all had to be repeated at the bow.

Next, it is time to cut the gains in the sheer strake. The purpose of these gains is so that the overlapping planking at the bow and stern will lie flat, in line with the stem and stern posts. It is possible to cut these on only one of the two planks but I didn't like the idea of trying to clamp the planks in place without damaging a feather edge on one of them. There is a lot of twist in the first few planks, and a lot of that pressure is on the edges. I've made a practice of cutting the gain through five layers of the plywood on the lower (earlier) plank, and then through two layers on the upper (later) plank before it is glued in place. This seems to have worked pretty well. Here you can see that I cut the gains with my Record rebate plane.

These things having been done, it is finally time to glue the planks to the hull. This always takes much longer than it seems like it ought to. It helps to have everything laid out in place and ready for quick application. The real problem isn't the time it takes to clamp things in place, though. The problem is that it takes an awful long time to (1) coat the edge of the plank to be attached with unthickened epoxy, (2) coat the plank land on the hull with unthickened epoxy, and (3) get a good layer of thickened epoxy on the plank land.

I begin by doing a dry fit, clamping everything in place, and making sure that the plank is lined up just where I want it. Then I drill a pilot holes for three screws to hold the plank to the stem post and three at the stern as well. These screws are temporary, and will be removed after the epoxy sets. Then I make some register marks - lines on the edge of the plank that continue onto the hull. Once everything is epoxied, matching these lines ensures the plank is in the correct position, or very nearly. Driving in the screws ensures it is just where I had it for the dry fit.

I usually begin with a coat of unthickened epoxy on the plank land. I brush it on with a disposable foam brush. It goes on more easily if the epoxy is warmer, but then it kicks off faster, too. I use System Three's "ketchup dispensers" to measure my epoxy. One squirt of epoxy and a half squirt (they have a little clip that limits the dispenser to a half-squirt) of hardener is plenty to coat both the plank land and the edge of the plank. But you have to work quickly, or it will start to gel before you are done.

Then I mix up a batch of thickened epoxy. I have a big tub of wood flour from System Three. I find the perfect measuring tool is the scoop that comes with powdered baby formula. For a squirt-of-epoxy-and-half-squirt-of-thickener mixture, one of these scoops of wood flour makes a slightly-runnier-then-honey mixture, two and a little bit will make a thicker mixture that won't run, even on a vertical surface. It takes several batches to cover the whole length of the boat, but I mix them one at a time. The epoxy cures more slowly spread out on the boat than in the mixing bowl. Invariably I end up needing just a little bit more, and end up wasting most of a batch. Oh, well.

Then it is time to bring the plank to the boat and get things lined up as best I can. First I get it "close" and attach on C-clamp near the center, at the 5th or 6th station. Then I get the edge lined up correctly and attach another clamp. Then I work my way along, attaching a C-clamp at each station mould, checking the alignment as I go. I screw a small block to the mould to give the clamp something to hold on to.

Then I screw the plank to the stem and stern posts, check the alignment again, and begin clamping the joint using plywood clamps and wedges. Finally I check the alignment once more, and go get something to eat.

Tuesday, November 13, 2012

Gluing the Scarfs

Well, this

is where I left things in the previous construction post. From the start of construction, I had planned to paint the hull. Consequently I had not been concerned with matching the grain or color of the planking stock.

Interestingly, the "meranti" plywood I'm using seems to alternate between layers of lighter and darker wood. The lighter wood seems a little less dense than the darker - almost like the ocume plywood I used to build a kayak, once upon a time. Most sheets have the darker wood on the outer face, but some have the lighter. You can see the difference in the pictures that show the hull. The color of the darker plies can vary considerably, too, even on opposite faces of the same sheet.

Well, the thought had come to me that I might like to leave the sheer strake finished bright, while painting the rest of the hull. I very carefully chose plywood that had face veneers with matching color, at least on one side. Unfortunately, though, when I traced the patterns for each section of the plank, I didn't pay attention to which side was up. Once I cut out the sections, there was no way to line them up so the colors matched correctly. Oh, well. Paint it is.

Now you may have seen in the post about my scarfing jig how I cut the scarfs to join the four parts of each plank together. So, the scarfs having been cut, it is time to start gluing the planks to full length.

If you look in the lower right of this picture

you can see a pencil line on the edge of the plywood. This marks the center of the scarf, and, when gluing up, aligning these pencil marks makes sure the plank will fit properly on the boat.

The process is pretty straight forward. First, I coat each face of the scarf with unthickened epoxy. Then I add wood flour to the remaining epoxy until it is about the consistency of honey or molasses. One face of the scarf gets a coating of this thickened epoxy and then the scarf is lined up...

...and clamped into place. The small silver clamps keep everything aligned, while the larger C-clamps put pressure on the joint. Wax paper between the joint and the scrap wood keeps the whole assembly from sticking together, and also leaves a fairly smooth surface that requires only a little cleaning up. First I use the small clamps to hold one side of the joint against a board underneath (with the scarf face up). After applying the epoxy, the other side is lined up, and clamped to the same board, holding the joint steady. Then the larger clamps are added, squeezing the joint between two pieces of scrap large enough to cover the area of the joint.

That's the theory, anyway. It's worked beautifully for the first 40 or so joints. Halfway through this final plank, though, something went amiss. I don't know if my pencil line was off, or if the setup slipped while I was gluing it up, but when I checked the next-to-last scarf to see how they fit, they didn't. Aligning the section of the plank with frames 3, 4, and 5 put things out of alignment by a couple inches at the bow. No way to finesse that!

So I cut one end of the joint off, shaped another plank-piece using the same pattern as before. (Is there a term for the sections of plywood that are glued up to make the full length plank? It seems like there ought to be.) Recut the scarfs. (It was sort of interesting to cut down to the glue line in the old piece.)

I didn't want to make the same mistake again, so I decided to glue the last four scarfs on the boat, like everybody else does. It wasn't as bad as I feared. It required a little more clamping ingenuity, and a little more effort to clean up the squeeze-out. All in all, though, not too bad. The full length planks seem to have a slight kink around the joint that I had to cut apart, but on the boat it looks pretty fair. I may have to adjust the sheer a little after I turn the boat over. Oh, well. I'm building a boat to use, not a museum piece, right?

Saturday, November 3, 2012

Field Trip: The Nina and Pinta

I had hoped to have the sheer strakes ready for installation by now. Well... that didn't quite happen. But that's a story for another day. For now, I thought I just show you some pictures of a couple incredible replicas of Columbus' Nina and Pinta. These ships travel around the country, spending a few days in each port. Maybe they are coming to a city near you!

Monday, October 15, 2012

Scarfing Jig

I built this jig to help me make consistent 12 to 1 scarfs for my planking. I made an extra wide base for my router from scrap 9mm plywood leftover from the planking stock. The base is stiffened by two 1/2 inch wide strips set on edge. The base is set into rabbits in the edge strips and glued. Some brads hold things in place while the glue sets. The base of the jig is made from 3/4 inch plywood, leftover from making the building frames. The rails are cut from 2-by stock, cut to a 12-to-1 slope on the band saw and cleaned up with a plane. The rails are screwed through the base into 2-by-fours set on edge. The screws are deeply countersunk, so the base of the router can ride on the sloped rails. In addition to giving a secure base for the screws, the 2-by-fours hold the base off of the workbench, leaving room to fit a clamp under the plywood.

Here is what it looks like when it's set up. You can see the pencil line 4 1/2" from the end of the plank that marks the start of the scarf. Some scraps of wood are stacked on the plank to raise a short 2-by-four high enough to clear the rails. This cross piece is clamped to the base, holding the plank in place.

The pencil line on the plank marking the start of the scarf is aligned with a line on the jig. This ensures the scarf is aligned correctly with the jig.

I cut the scarf with a few passes of the router, increasing the depth gradually to creep up on the line. I find that if I just take out the pencil line, and bring the front edge down to a feather edge, just a little ragged, the joint is pretty easy to clean up after gluing.

It's not a perfect setup. If the plank doesn't want to lie flat or has some twist in it, the scarf may not be perfectly even, or the cut may be too deep at the feather edge. In practice, it works pretty well, though.

I really was only think of the planking when I made this jig, but it might also be useful in a few other situations. I might find that I want to scarf material together for the sheer clamps, or when I start building spars.

Saturday, October 13, 2012

Shaping the Final Plank

Here is where we left things in the last construction post:

The patterns for the sheer strake had been cut out and shaped. Now it is time to get out the marine plywood. This seems like a big step, a momentous occasion. I'm really working on my boat again. When people ask me "How is the boat coming along?" I no longer have hang my head and admit that it is not coming along at all. I can look them straight in the eye and say "I'm working on the sheer strake. After that it's the stem and stern posts and the keel. Pretty soon, I'll be turning it over!"

Well, maybe I shouldn't get ahead of myself.

I traced out the patterns onto the plywood. After that I cut them out with my jig saw. I know that lots of people say that the jig saw won't cut a straight line, that it wants to wander. It's certainly true that I can't follow a line as closely with the jig saw as I can with my band saw, but it seems more like my fault than the saw's. It goes where I direct it, it's just harder to direct than the band saw. In any case, I saw about 5-10mm away from the pencil line. The fibers of the top ply tend to chip out, especially when cutting across the grain.

Here we see an "action shot" of my jig saw. I don't know how old it is, but it was my grandfather's before it was mine, and it is a heavy duty piece of machinery. No plastic body on this one! It runs fine, though it gets a bit hot when I run it for a long time, and it takes a while to cut out these planks. In the end, I use the jig saw to separate the planks from each other, and cut close to the line using the band saw. I didn't happen to get any pictures of that, but it you imagine someone using a band saw... that's pretty much what it looks like.

Finally, I used my router to trim the planks to the exact size of the pattern. The natural thing would be to use a template bit to do this. I don't happen to have one of those. I do have a flush trim bit, though. It's basically the same thing, but with the bearing on the bottom instead of the top. It's not quite long enough to cut both planks (port and starboard) at the same time. Oh, well. I like doing this, right? I get to do twice as much. In the end, I have two planks that exactly match each of the four patterns.

Next step... Cut the scarfs and glue the planks up to their full length.

Tuesday, October 9, 2012

Epoxy Test Pieces

When I began my boat building project, twelve years ago, I ordered two gallons of epoxy and two gallons of hardener from System Three Resins. I figured that would be enough to get me trough coating the hull.

In response to the question "What is the shelf life of your epoxy resin products?" The System Three product FAQ has this to say:

All solvent-free epoxies have essentially unlimited shelf lives so long as they are stored in sealed containers. The resin may crystallize or the hardener may darken but this does not affect its performance. If the material is more than a year old do a test to satisfy yourself that it cures properly.

Twelve being more than one, I did just that. I mixed up some epoxy and glued up some test pieces. I mixed a batch of straight epoxy, and a second batch to which I added wood flour (basically sanding dust, much finer than saw dust) until it had the consistency of honey. (The consistency of epoxy mixed in this way is measured on a scale from honey, through molasses, and all the way to peanut butter.) I glued up two test pieces, one of solid wood (pine), and one of the meranti marine plywood I'm using for the planking. In each case, both sides of the joint got a coat of the unthickened epoxy. Then I coated one side with the thickened epoxy and joined the pieces, clamping until there was some squeeze out all around the joint.

A couple days later (it was a little chilly, I wanted to give the epoxy all the time it needed to cure) the epoxy left in the mixing bowls had cured as expected. After some encouragement, I was able to pop out two epoxy disks.

The foam brush and tongue depressor are, of course, permanently embedded in the epoxy. You can see the tip of a tongue depressor in the disk of unthickened epoxy. It wasn't strong enough to break the bond of the epoxy with the plastic bowl. There was a small patch of uncured epoxy - just a thin film less than a square centimeter - left behind in the bowl of unthickened epoxy. I assume it was not completely mixed.

But what about those joints? How strong were they? I rigged up a destructive test using my face vise and a pipe clamp. The picture below was taken just after I heard the first "crack" from the joint.

Not long after that, the piece broke, but you can see that the plywood separated between the plies, not at the glue line.

In the second picture, you can see that the joint in the pine also split along the grain, not at the glue line. I rate this test a success! That's good, because I still have about $200 worth of this stuff. I'd hate to have to replace it, but even worse, how would I throw away three gallons of epoxy and hardener that wouldn't cure? It's hard enough getting rid of old paint. It's good to be able to file this under "Problems I Don't Have to Solve."

Tuesday, October 2, 2012

Sheer Strake Patterns

With the building frame leveled, it's time to begin work on the sheet strake. I know some folks have had success making full length patterns by running two battens to mark the edges of the plank and attaching cross braces to make a rigid structure. I tried that early on, and it didn't seem to work well for me.

The Eun Mara is a 20' long boat. The planks are made from 8' long sheets of plywood. This means that each plank must be built from several sections and scarfed together. Now many people have had great success gluing scarfs on the boat. I never actually tried it. Early on I tried a dry fit this way. It was hard enough getting everything lined up, that I couldn't imagine doing it again with epoxy all over, trying not to make a mess, and hoping to get everything into place before the epoxy goes off.

I'm sure both these approaches are very sensible, and that if someone were to show me the correct way, I'd say, "Oh, that's how it's supposed to be done. I didn't have anyone to show me, though, so I had to work out something for myself.

I ended up making patterns out of 1/4" plywood, as described in Iain Oughtred's CLinker Plywood Boatbuilding Manual. But with an extra twist to help get the scarfs lined up correctly. My method is as follows:

A sheet of 1/4" plywood is bent around the boat, roughly where the plank will be. The 1/4" plywood from the home center is much lighter and easier to bend into place than the 9mm (about 3/8") marine grade meranti plywood. I climb under the boat, mark the plank lands at each frame, that is the corners on the frames that mark where each plank ends. These will be joined up with a fairing batten after the plywood comes off of the boat. I also trace the edge of the previous plank. This will not mark the edge of the new plank. The planks need to overlap, so another line, slightly above this one needs to be drawn. I didn't get under the boat to take pictures of this, so hopefully this all makes some sense. I also marked the location of the edge each station along the plywood. This helps with lining everything up correctly.

Early on in the construction, I made this gauge to mark the location of the plank lands. Here you can see how it is used to mark the lands on the previous plank, so the edge can be beveled correctly to mate with the next plank.

Here you can see the same gauge being used to mark the edge of the new plank. It is placed upside down on the line traced from the edge of the previous plank. You can see the traced line running under the block. Then I make a pencil mark in the same corner as was used to mark the line in the previous photo. I mark several locations, then put a brad in each and lay a batten so it rests against each of the brads.

Here is the batten. It's held to the curve of the brads with a couple clamps. It doesn't always want to lie exactly along the brads, and some adjustments have to be made. If it's pretty close (within a pencil line) I wouldn't sweat it. It it's more than that one of the marks may be off. I never had too much difficulty. If you're having difficulty, well, use your best judgement. It's likely to be better than mine!

The pencil lines in this photo are a little hard to make out. The lower horizontal line marks the end of this section of the plank. The center horizontal line marks where this plank will lay across one of the station moulds. The upper horizontal line marks where the start of the scarf for this joint. Each end of each plank is marked like this for a 12-1 scarf. Those who know more than I do say that a scarf of 8-1 or 10-1 is sufficient, but 12-1 can't be any worse, and doesn't really use any more material. The two nearly vertical lines mark the edges of the plank. (It looks like there is another nearly vertical stray line.) The center lines, marking the location of the station, are marked onto the edges of the planks after they are cut out. Lining these marks up ensures that the glued-up plank will lay correctly on the boat.

After the pattern is outlined, it is cut out. First I rough cut with a saber saw, then I cut close to the line on the band saw. Here are the patterns for the four sections of the sheer strake.

Marking the scarfs in this way has one drawback. Because all the scarfs must lay on one of the stations, it limits how the planks can be divided into pieces. Some planks that could have been glued up from three almost-eight-foot sections end up being made from four shorter sections. It's not too much extra, though. I'd say I only ended up making six or eight extra scarfs on the whole boat. And some of the work is easier, involving smaller pieces that are easier to cut out.

Next I trace the patterns onto meranti plywood, rough cut them with a saber saw, and use a pattern bin in my router to give them their final shape.

Tuesday, September 25, 2012

How it all began

In 1997, I told my wife I wanted to build a sailboat, which I guess must have come as quite a surprise to her. We'd been sailing before. Once. On my parent's Catalina 25. But they sold the boat, and that was the end of it. As far as she knew.

Now, at this point in our lives, we lived in a two bedroom condominium in the middle of Houston. Not really the best situation for sailboat construction. It was not really the best situation for building a 20' stitch-and-glue kayak, either, but that's just what I did. My wife was very accommodating of this project, which took up most of our living room and dining area for nearly a year. But then, she is the best. Every man should be so lucky!

The kayak was finished shortly before we were to move to Pittsburgh. We paddled some in Galveston Bay. We paddled in Moraine State Park after the move. We paddled a little more in a few other places. But it wasn't sailing.

I began looking for plans for a sailboat I could build. I had read George Beuhler's book, and I liked his designs and philosophy quite a bit. I even ordered some of his study plans. But his boats seem mostly to be designed for off shore cruising. Living in Pittsburgh, that just wasn't going to happen.

I had a pretty good idea of what I wanted. I expected we would use the boat about like we had used the Catalina 25. Taking the family out for a sail, maybe going out with a couple friends. We never went for extended cruises, but we did spend a couple nights on the boat, anchored in a cove or inlet.

So there you have it. A boat that is comfortable for four or so daysailing, able to sleep two with basic accommodations. Able to sleep a few more with mild discomfort. Oh, and one more thing. An "interesting" rig. One of the things I always wished for when daysailing was more sailing to do. Sails to trim, lines to haul, and whatnot. I was looking for a cutter, with multiple headsails. Or maybe a gaff rig, or a yawl or ketch. It had to be a small package, though, to fit on a trailer, and to be a reasonable building project.

I looked at some of Sam Devlin's designs. Winter Wren and Song Wren I think. I dreamed about the McNaughton Group's Surprise 24. But when I saw Iain Oughtred's Eun Mara, I was pretty sure I'd found what I wanted.

I was in the fortunate situation of going house-hunting just after settling on this design, and so I was able to make "boatshop" a priority in choosing where to live. We found a nice Cape Cod style home with a 30x24 garage. And so in the summer of 2000, I began construction...

Wednesday, September 19, 2012

Releveling the Frames

Over the past week, I've managed to put the building frame back into alignment. Here you can see the boat set up in the new garage. What you can't really see in the photo is that the floor in the new garage is not level. There are two floor drains (required by the building code) and the floor slopes toward them. The building frame was originally constructed on a flat floor, and so now has a slight sag in the middle.

When I originally set up the frame, I used a series of holes centered on cross hairs to align the the station moulds. Running a string through these showed that some frames were over 1/4 inch out of alignment. This meant that I needed to go back an realign everything. When I first did this, I used a combination of pipe clamps and a hammer to align everything, and a spirit level, string line, and a piece of plywood cut to exactly 24" width to align everything. The two pipe clamps were reversed to work in "spreader" mode and adjusted the mould vertically on the left and right hand sides. This allowed me to get the correct height and make the frame level. Left and right adjustment was done with the hammer.
I set up the pipe clamps as before, but this time there was no opportunity to use the hammer. Raising one side of the mould would force it into the sloped hull on that side, pushing the mould toward the other side of the boat. With delicate adjustment of the pipe clamps, I was able to get each frame centered both vertically and horizontally.

In a perfect world, the moulds would now be level as well. Sadly this was not the case. The problem, as I see it, is that the floor under the building frame is not only low in the center, but also sloped from left to right.
So... I used my laser level, piles of boxes and scrap wood, a crowbar and shims to make sure each frame is level. By carefully placing the laser level, I could place a laser dot on the two lower corners of a mould, which determine the position of the sheer at that station. Then I used a crowbar to lift the low side and insert a shim (or two (or three)) to make the mould level. I started by making the stem and stern posts vertical, using a small spirit level. Then I worked from the ends toward the middle. Each time I leveled a frame, I checked the others again to make sure they had not been thrown out by the adjustment. After I was done, I had all the frames within 1/16" of level.
Then, with fear in my heart, I climbed back under the boat to see if the frames were still aligned. Miraculously, they were. At least within one or two pencil-line-widths. I pronounced that good enough, and proudly told my wife what I had done and that I was ready to start building again.
"Are you sure the moulds aren't tilted fore-and-aft?"

Wednesday, September 12, 2012

A New Beginning

Yesterday I worked on my boat for the first time in... nine years. Wow, where does the time go? I have a son who will turn eleven in a few months. That may explain a little bit. There's also another seven year old. We moved to a new house. We built the new house. Well... we had it built for us, but that still involved a lot of effort on our part. Work. Other projects here and there. There's always a reason to not work on the boat - and once you stop, it begins to accumulate... Stuff. You can pile things on it as if it were a table, but without even taking up valuable table space. At some point, cleaning things up to where you can even begin working is a project in and of itself.

Two years ago, we began building a tree house. (Add that to the list of distractions!) So for the last eighteen months, there has been a pile of construction lumber keeping me away from the pile of odds and ends that were too heavy or awkward to be piled on top of the boat. I suppose I should have taken a picture, just to document the depths to which the project had sunk, but maybe it's just as well that I did not. This summer the tree house is complete. (Well, nearly so.) With the pile of lumber gone, I decided it was time to get back to work. After two weeks of cleaning up, throwing out, dusting off, and finding places for things, the boatshop (okay, it's a two car garage) is ready.

When I began construction in the summer of 2000, I imagined a boat that I would someday enjoy with my kids. Lately it has come upon me that if I don't get things moving again, my kids will grow up before it's finished. I don't imagine I'll find a lot of Big Work Days. My plan is to fit in an hour here, a couple hours there. Time that would otherwise be spent in frivolous pursuits - like reading Horatio Hornblower novels for the third time. Slow and steady progress is the goal, and eventually things will take shape.

As with nearly all of Iain Oughtred's designs, construction begins with a building frame. Station moulds are cut out and assembled on a strongback. I spent a great deal of time and effort making sure everything was square and level. Then the keelson, inner stem and stern posts are assembled, and the planking is formed around the moulds, and glued to the backbone with epoxy. At the time of our move, I had completed six of the seven strakes.

In the beginning phases of construction, the boat is upside down. After the hull and keel are complete, the boat is turned over, and the interior is fitted out. Now, if I had been clever, I would have made sure that the time of our move coincided with the time to turn over the boat. Alas, it was not to be. After the move, the building frame is not quite square, and not quite level. There is no difference to the naked eye, but running a string line through the holes I used to align the frame twelve years ago reveals that some moulds are up to 1/4 inch out of alignment, and some have a slight twist as well.

Well, finding this problem - that's the work I did. Does that count as work? After a nine year hiatus, I'll take it. Fixing the problem? That's a job for another day.